Showing posts with label DIY. Show all posts

Tuesday, September 23, 2014

Elsa Dress


just like 5 billion other girls this Halloween, Emma wants to be Else from the movie Frozen. The problem is that the only dress up dresses they sell at walmart are size 4-6x....but really more like a size 4T. Emma is 5 so you would think that would work. nope. she is in size 6-7. awesome. so unless i wanted to spend 50+ bucks on easy (ya right) i had to whip out the sewing machine and get to work. the best part is that the fabric, velcro, and diamond thing only ran me about $10 bucks. 
it took me a few hours and a few times of ripping out seams but i finally finished. although it's not perfect, emma was ecstatic about it and that's all that mattered to me. 

i totally made this ups, no pattern, and no tutorial. sorry guys. but your guess is probably better than mine on how to make your own : )


and superman wanted to join in the fun!
....now to keep this dress in somewhat good shape until halloween! 

Wednesday, December 4, 2013

Christmas Decor

here's the thing. most the time i love blogging more for the opportunity i have had to find other inspiring blogs and read them...it's one of my "me" things that i do to relax. but honestly i get in slumps of keeping this thing updated for myself. so instead of thinking about how i should have at least done one "thankful" post, i'm just moving on and keeping up instead of looking back : )

on another note this is my christmas decor post done completely with iphone pics because i sent in my digital camera to be fixed and sold my dslr. it's kind of weird/annoying not actually having a real camera at the moment.


the kid's favorite new addition this year is their little people nativity set that great grandma fowles gave them as a present last year!

my mother in law gave me this "peace" sign and it kind of inspired my glitter and gold theme.

my home made burlap stockings got some glitter initials added this year that hang on the peg with them...a walmart 97cent score. 

here is where the crafting came in this year. 
the deer came from this picture and i just used modge podge and glitter  the gold easel is from the thrift store for $1
here is the link to the nativity printable and the frame is another thrift find for a whopping 75 cents.
i painted most of the sticks gold and some of the pine cones got glittered with modge podge. 
the trees are just hanging from a white piece of thread and were bought in a pack of 10 from walmart.
the tree and "jingle" blocks are from past years. 

and the beloved tree. 
i used scrap burlap and cream fabric that i had laying around and it worked perfectly for a tree skirt and matched my stockings. 
someday i will make one like this or this
it did have a big bow on top made of the same gold ribbon but emma INSISTED we had a star...so grandma shelly saved the day and sent the cutest star that is made from a bunch of tiny little bells! thanks again mom!


all my inspiration can be found on my holiday pinterest board including these favorites below!


happy holiday decorating!!!!


Saturday, September 21, 2013

{DIY} our lost keys solution!

earlier this week we had yet another morning of rushing around frantically to find a pair of keys. this usually happens about once a week around here and it kinda starts the day off on the wrong foot. so this time i decided that i had to do something about it.
after some thinking that morning about what i could use to make a key holder i finally decided what i would do. 

so... i have this diaper box in our storage closet of things i collect. i keep it to this box or else things would get way out of hand...i'm talking hoarders: buried alive, kind of problems here. 
last fall while on a walk with the kiddos i found an awesome chippy board in some weeds.(you can't imagine trevor's face when i brought it home. haha) at the time i thought it would be cute with something painted on it but that never happened so here i am a year later putting it to use!

 the hooks came from a purple board thing i got at the DI for $1 that i planned on painting and putting in kellen's room for hats to hang on but now i'll just have to replace those when i get around to that project.


i used a bracket off an old (not being used) shelf that actually had 2 extra on it and nailed it to the back to hang.

added some burlap ribbon and ta-da! our new key holder!

 it is taking some getting used to to hang them but they are right next to the door and so far we haven't had any lost keys :)

Thursday, August 22, 2013

DIY Painted Piano {part 1}

 a little over a month ago a family from church was moving and when i was over there helping out they were talking about how they didn't want to move their piano. so they planned to sell it. 
at that point i was bummed because trevor knew i wanted it but was already reluctant because the thing had seen better days and i knew he would be up for paying any money for it. that's when the best plan ever was formulated...
i had already been talking to the husband about selling him my clarinet for the high school band (he is the band director) and decided to ask him for a trade. honestly i hadn't played my clarinet but maybe twice since 9th grade and it always drove me crazy that it was in the key of b flat. but the piano is an instrument that everyone should learn to play and although i'm not the best, i plan on becoming better.
luck for me there is another guy from our church that builds and tunes and fixes pianos as his retired hobby. he came over and told me that it really was a good trade and he would help me get this thing in perfect condition...for free. can't beat that. 
 so here's what went down.

 the thing was kind of a mess.
 they had 5 kids and you wouldn't believe the things i found inside that piano as i was taking it apart. 
you can tell from above that a few things had been spilled in there too. but the pictures below are after i washed and vacuumed it out.


first i sanded it with fine sand paper to smooth it out and wiped it down again. 
then i used Behr paint plus primer and got to painting. 
here's where i got myself into a little bit of extra work and annoyance.
i chose a tan paint color and once i finished the second coat i hated it. awesome. 
so i decided to go with white. since i figured i already painted 2 coats with primer i just bought regular "antique white" paint with no primer. 
therefor i had to paint 3 more coats to cover the original color. if i would have got paint plus primer white i probably would of only had to do two.
so choose your paint color wisely and don't go cheap by getting paint without primer unless you want more work. 

oh and another tip....DO NOT buy cheap brushes. they make it streaky and you just have to go get more expensive ones anyways. learned that the hard way too. 


but at last here it is!!!
it's still not completely put together...the part that covers the keys isn't screw back on {thus the space}because i am waiting for the piano fix-it guy to come back to fix a key and tune it.


while i was painting with white i also decided to paint/distress my bookshelf which used to be completely wood like the top part. 


oh and that part of my living room has the WORST lighting ever.


 i am still having a seriously hard time deciding if i want to give it a little bit of distressing. 
what do you think?

next up....Part 2: painting and upholstering the piano bench. 

oh and i liked reading these tutorials before i started


Friday, July 19, 2013

{DIY} swimsuit solution

gingham suit: OP brand-walmart// striped suit: Down East 

 we have a swimsuit problem around here. emma cannot wear a one piece because of the horrible wedgies and the fact that going to the bathroom with a wet one piece is seriously annoying. but the bottoms to a two piece NEVER stay up! {we're talking bad plumbers crack all day long}
so while we were swimming at the beach last week, after i told emma for the 100th time to pull up her bottoms, i had the thought, "i wish someone made swim suits where the bottoms could snap to the top". 
then i realized, "hey, i could do that!" 

so a few days ago i ventured to walmart to see what they had and this pack of small snaps cost me $2.50. 
i used the 6 biggest silver ones...3 for each suit.

 to get started, emma put both suits on and i marked the 3 spots i wanted the snaps to go lining up the bottoms and tops...with something that is washable.
then all you need is a needle and thread and just start sewing away! 
since the snaps on the bottom are on the outside i went all the way through to the back so the threads were on the inside. 
for the tops of the swim suits i didn't go all the way through but looped it around staying on the inside piece of  fabric {since it was on the double layered hem} so the threads wouldn't show on the outside. 


 here it is on! 
 and here it is all snapped up! you can't even tell! 
and i pulled on her bottoms and they did the PERFECT job of holding them up! 


***you could also put buttons on the front if you want but for us it wasn't a need***

Tuesday, July 16, 2013

{DIY} french manicure

back in high school i used to love to get my nails done at the salon. i wasn't much into fake nails because i would always bite them and they would pop off long before they should have which was totally not worth the money. but getting french tips painted on was only $10 and that was worth it to me. 
after several times getting my nails done i realized what they were doing wasn't really rocket science and i could totally do it at home. {which comes in handy on our student budget these days}

well it's been about 6-7 years and i think it's about time i share this money saving technique! 

{btw} i have learned that doing my fingers takes a bit more time and patience since i'm not the most coordinated with my left hand. usually i don't do my finger nails that often because they only last about a week {sometimes longer with touch-ups} but it only takes about 30 min. for my toes and they pretty much always last for a month. 

so here's the stuff i use. 
q-tips, nail polish remover, white nail polish with a regular brush, clear nail polish. 
i have tried different kinds of nail polish and "sinful colors" white is my favorite because it isn't too thick and it is easy to take off with the q-tips. "sally hansen"{diamond strength} clear nail polish drys pretty quickly and i really think it is the reason the polish stays on so well. 
 step 1: {after you have clipped/filed}paint the tips of your nails with white nail polish. 
on my toes i go side to side.  on my fingers i start a little lower than the middle and pull towards the end of the nail. do two thin coats. 
 step 2:  pour some nail polish remover into the cap and dip the q-tip in. then immediately begin rubbing back and forth on the nail to make a straight line. {also remove any nail polish from the skin}
*at the salon they use a small makeup/paint brush thing and dip it into polish remover i just found out from a friend that you can buy one at Sally's*
 step 3: finish with two coats of clear nail polish....and some lotion because the nail polish remover makes your skin dry out: )
bonus tip: apply another clear coat after about 2 weeks to make them last!
{old instgram pic after doing my finger nails}

Wednesday, June 26, 2013

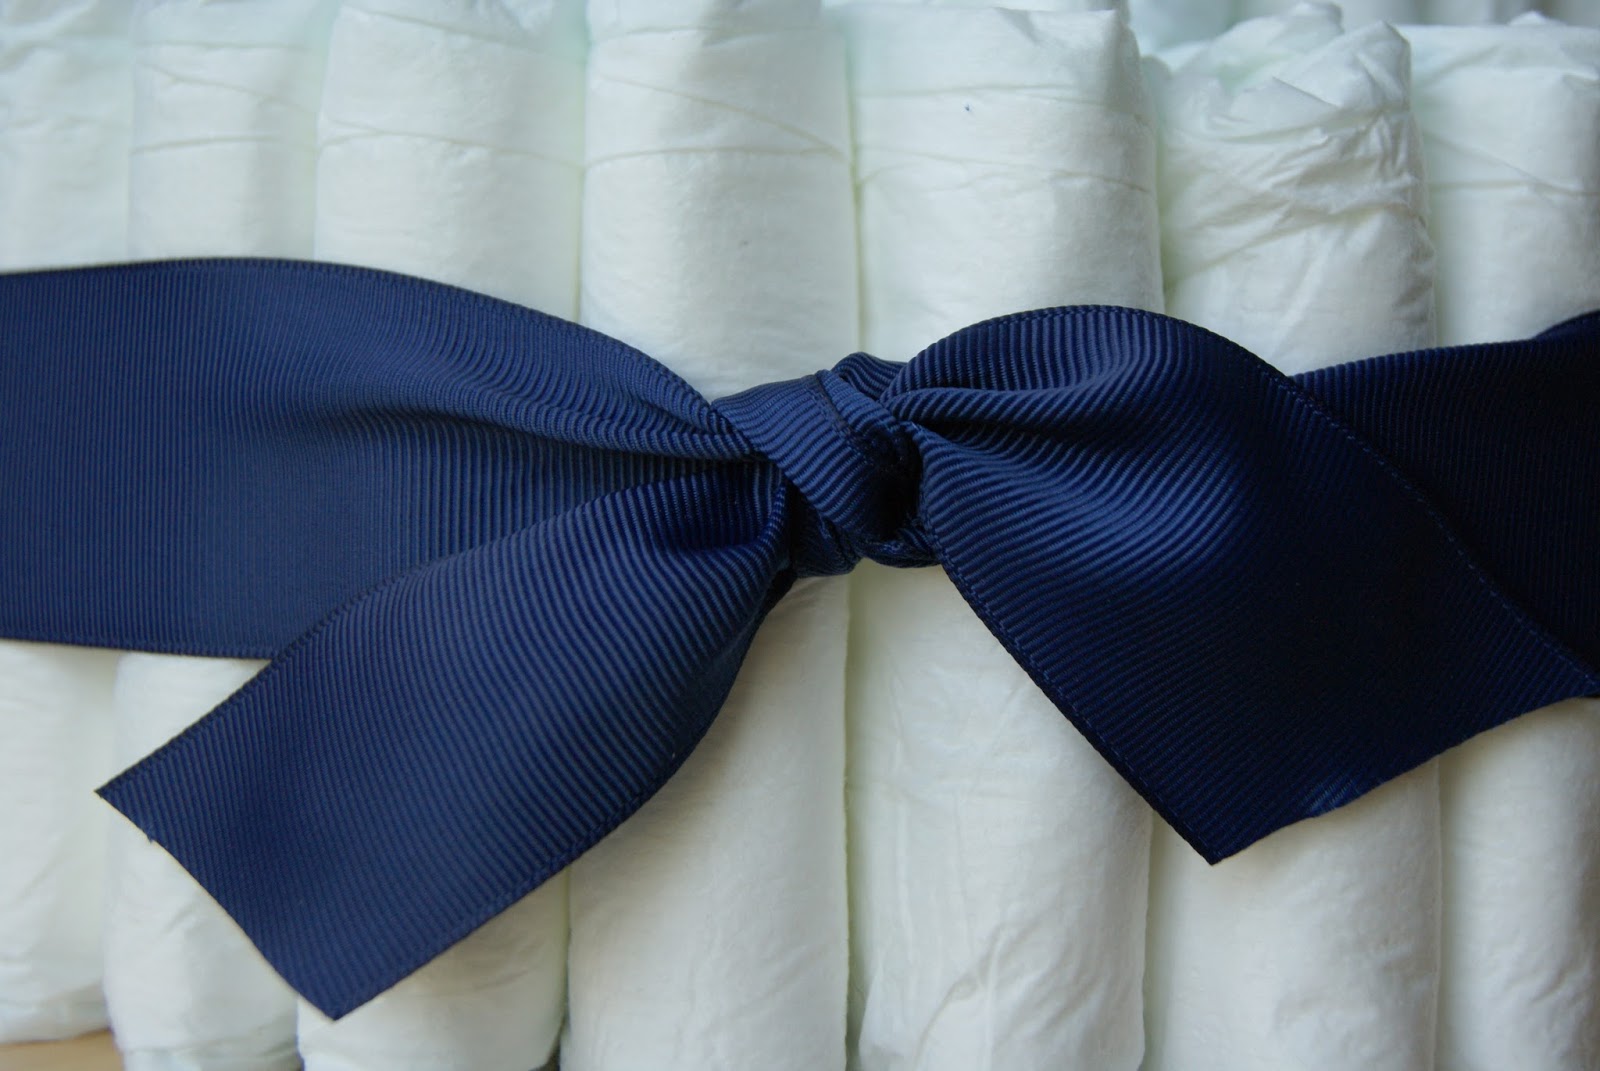
{DIY} diaper cake


 this past weekend i was so bummed to miss out on my friend Skye's baby shower. since i wasn't able to attend i decided to make a diaper cake and drop it off on the way to our family reunion! 

there are a couple ways to do it on pinterest but i loved this tutorial the best. i think that it looks a lot nicer and put together than rolling the diapers. plus it is possible to do it without another person involved...which i had to do. 
the decor ideas are endless as well but again, i am into simple and clean.


i was lucky and scored a buy one get one free deal on diapers at walgreens and got two packs of 50 size 1 diapers. i used about 95 of them.


Tuesday, May 21, 2013

DIY bow ties

ever since i had kellen i have wanted to buy him some cute bow ties but there wern't any cute ones in stores and i wasn't going to pay $10+ on etsy for someone to make me one. so here we are a year later and i am actually giving it a try!
 
here are the ones i made during nap time today!
 
 
i found this tutorial on pinterest and it is SO easy.
 
here are some other tips for attaching to fabric to wear around the neck...
 
-first hot glue the main part of the bow to the neck piece
 
-then use hot glue to attach the little piece around the bow & neck piece
 
-use hot glue to attach velcro to the neck piece
 
but here is the best thing i learned...use 1/2 in. bias tape for the around the neck part! it is less sewing and SO much easier! plus you dont really see it with a collared shirt so it doesn't even mattter what color it is : ) plus on the yellow one i just used the bias tape around the middle too!
 
and as far as measurements go i pretty much eye balled it and used my kids necks but here is a guide to go off of:
 
Necktie Lengths
Small (6M -18M) 7-9"
Medium (18M - 3T) 9-11"
Large (3T - 6 years) 11-13"
Extra Large (6 - 9 years) 13-15"

Bowtie Widths
Small (6M -18M) 3"
Medium (18M - 3T) 3.25"
Large (3T - 6 years) 3.5"
Extra Large (6 - 9 years) 3.75"

Saturday, May 11, 2013

sewing saturday {mini maxi's}

trevor was golfing, kellen was napping, emma was playing with the neighbor, so i decided to sew! 

i bought fabric to make emma two dresses about 3 months ago and am just now getting around to it! i had a vision and was kinda scared to get started, afraid that they wouldn't turn out how i planned. 
i was pleasantly surprised! 

here are the two dresses i made emma today! 

 added ribbon after i hemmed the bottom
 i actually hot glued these bows on...i found out last year when i made emma's 4th of july shirt that it holds even after being washed!


after i made the first dress i took pictures right away and then went back to work to do the second. she had obviously had enough pictures from the first little photo shoot and was "over" smiling for the camera. i was bummed because it got all cloudy!


 decided to put the ribbon between the two different patterned parts of the dress instead for this one!
 and again...hot glued the ribbons on!